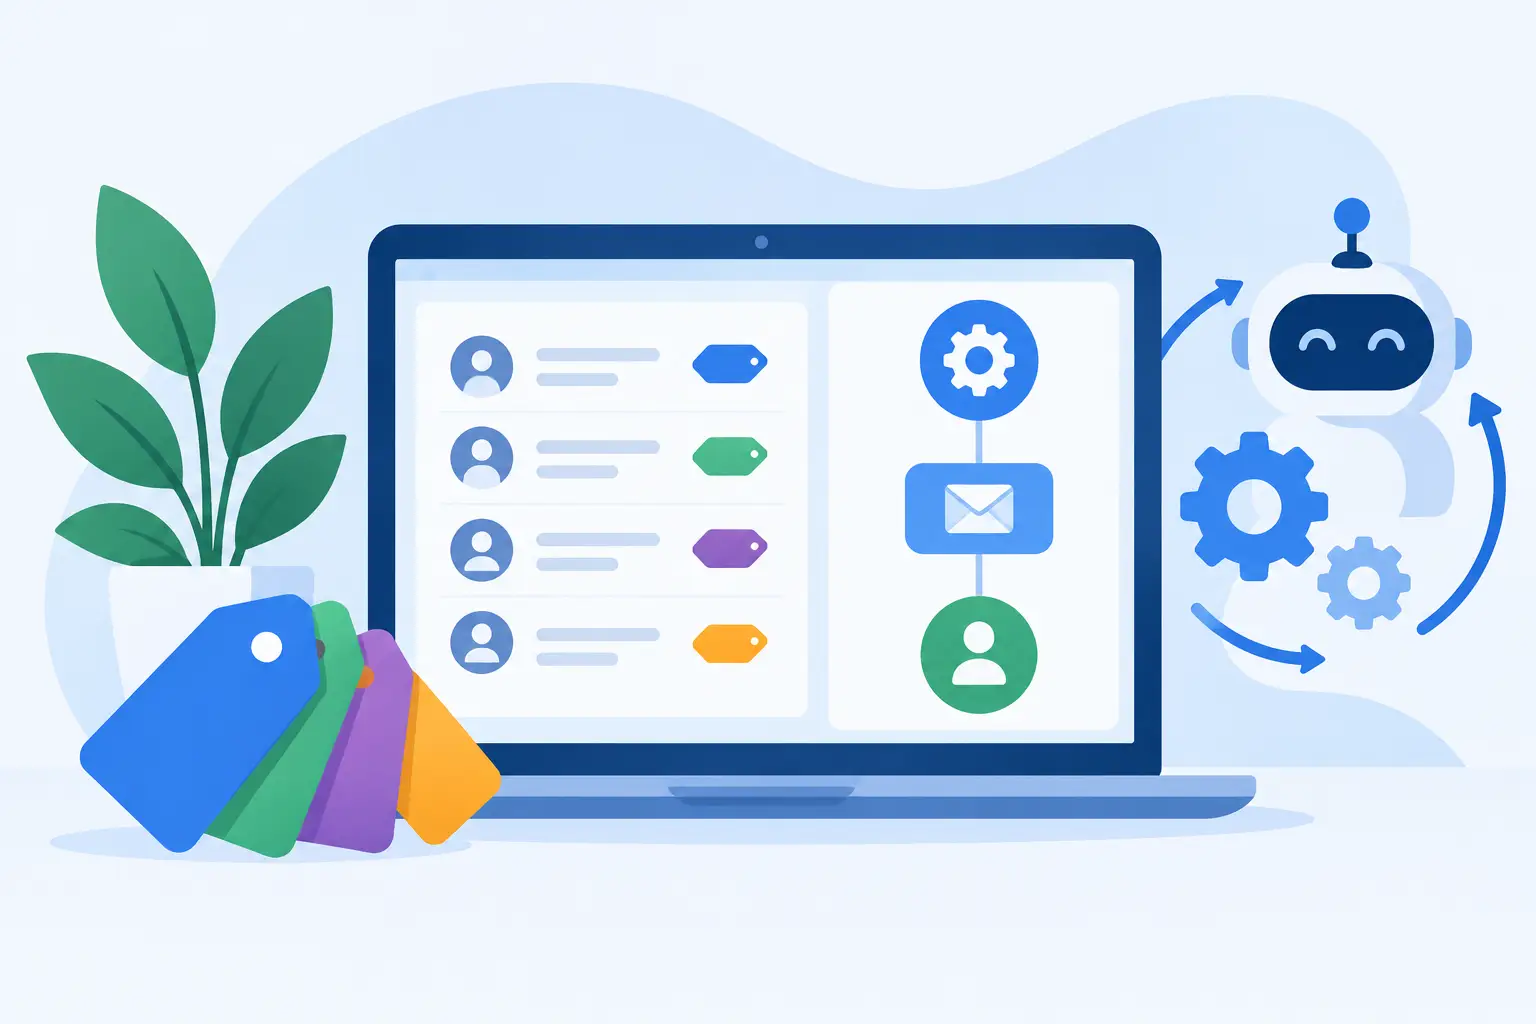
A new lead should not receive the same follow-up as a customer who just purchased, attended a webinar, or requested implementation help. That is the practical reason to learn how to set up tags and automations in Systeme.io. Tags give each contact useful context, while automations use that context to deliver the next appropriate action without relying on manual spreadsheet updates.
For a growing business, this is not simply a marketing task. A well-planned setup helps sales, operations, and customer support work from the same view of the customer. The objective is not to create the largest possible list of tags or the most elaborate automation. It is to build a system that stays understandable as your business, offers, and customer base grow.
Before creating anything in Systeme.io, outline the stages a person moves through in your business. For many small and mid-sized companies, that path begins with an inquiry or lead magnet signup, progresses to an active prospect, and then becomes a customer, onboarding client, or repeat buyer.
Your tags should describe facts that matter to a future decision. They may identify where a contact came from, what they expressed interest in, what they purchased, or whether they need a particular type of follow-up. An automation should respond when one of those facts changes.
For example, a consulting firm might use a source tag such as Source - Webinar, an interest tag such as Interest - Operations Support, and a status tag such as Customer - Active. A training business may instead need tags for course enrollment, completion status, and support level. The right structure depends on how your team sells and serves customers.
Avoid using tags as a catch-all customer database. Details such as full addresses, contract values, or lengthy account notes generally belong in the appropriate business system. In Systeme.io, tags work best as short, consistent labels that support segmentation and automated actions.
Create a Tag Naming Standard Before You Build
A naming convention prevents a common problem: several team members create nearly identical tags, such as Webinar Lead, webinar-lead, and Webinar Signup. Those variations make reporting and automation maintenance harder than necessary.
Use a clear category first, followed by the value. Categories might include Source, Interest, Product, Customer Status, Event, or Support. For instance, Product - Starter Plan is easier to find and interpret than simply Starter.
Keep the number of tags controlled. A contact can hold several tags, but every new tag should answer a specific operational question: What will we do differently because this tag exists? If there is no answer, it probably does not need to be created.
It is also useful to reserve status tags for current conditions. If a contact becomes a customer, remove or replace an active prospect tag when appropriate. Leaving outdated status tags in place can cause conflicting campaigns and confusing handoffs.
In Systeme.io, tags are managed from the contacts area. Open the tag management section, create a new tag, and enter the naming-standard label you planned. Repeat this only for the initial set your first workflows require. You can add more later as real business needs emerge.
Once created, a tag can be applied in several ways. You can add it manually to an individual contact, assign it through a funnel step, or add it as an action within an automation rule or workflow. Manual application is useful for exceptions, such as a sales representative qualifying a lead after a call. Automated application is better for repeatable events, such as a form submission or purchase.
When configuring a funnel or form, identify the moment at which contact intent becomes clear. A general newsletter form may warrant Source - Newsletter, while a form for a specific service guide may also receive Interest - Implementation Services. This gives your team meaningful segmentation from the first interaction.
Test the form with an internal email address. Confirm that the contact record is created and that the intended tag appears. This basic check catches many setup errors before a live campaign sends traffic to the page.
Build Automation Around Business Events
Systeme.io automations generally follow a straightforward logic: an event occurs, the platform checks the rule or workflow, and one or more actions take place. The event might be a person subscribing through a funnel step, receiving a tag, completing a purchase, or joining a campaign.
The actions may include adding or removing a tag, subscribing the contact to an email campaign, granting course access, sending an email, or moving the person into another process. Exact options can vary by account configuration and product updates, so confirm the available triggers and actions in your workspace before documenting a final operating procedure.
Start with rules that reduce a real manual burden. A reliable first automation could look like this:
- A visitor submits a form to request a service consultation.
- Systeme.io adds
Interest - Consultation and Source - Website.
- The contact is subscribed to a short consultation follow-up campaign.
- Your team receives the information needed to respond with context.
This is more valuable than an elaborate sequence built around assumptions. It creates a consistent response, preserves the lead source, and reduces the chance that a qualified inquiry is overlooked.
Use Automation Rules for Direct Responses
Automation rules are well suited to a single trigger and a small number of immediate actions. For example, when a contact receives Customer - Active, you can remove them from a prospect nurture campaign and add them to a welcome sequence.
This protects the customer experience. Nobody wants to purchase a service and continue receiving emails urging them to buy the same service. The rule also reduces cleanup work for your team.
Use Workflows When Timing or Branching Matters
A workflow is often the better choice when a process includes delays, several steps, or different paths based on contact behavior. Consider an onboarding process for a new client. Day one may deliver a welcome message, day three may prompt the client to complete an intake task, and a later step may notify your team if that task remains incomplete.
Keep workflows easy to audit. Name them according to their purpose, such as Onboarding - New Client or Nurture - Consultation Request. Document the trigger, intended audience, actions, and any tags added or removed. This makes ownership clear when a staff member changes roles or an outside implementation partner needs to support the account.
Prevent Conflicting Campaigns and Duplicate Messages
The most frequent automation issue is not a technical failure. It is a contact qualifying for multiple campaigns that were built independently. A prospect might download two resources, book a call, and buy a product within a few days. Without exclusions, they could receive overlapping messages that make the business appear disorganized.
Use tags to manage this intentionally. Before subscribing someone to a campaign, consider whether they should be removed from another campaign or assigned a status that prevents future entry. A customer onboarding workflow, for example, should usually take priority over a general promotional sequence.
Timing deserves the same attention. Immediate confirmation messages are appropriate after a form submission or purchase. More frequent sales reminders may not be. The correct cadence depends on the buying cycle, the value of the offer, and the expectations established when the person opted in.
Test the Entire Journey, Not Just the Trigger
An automation that saves successfully is not necessarily ready for customers. Test it using a dedicated internal contact and follow the path from beginning to end. Submit the form, inspect the contact record, verify the tag, and check campaign enrollment and message timing.
Review what happens when a contact takes an unexpected path. What if an existing customer submits the same lead form? What if someone purchases after receiving only the first email? What if a sales representative manually adds a tag? These scenarios reveal whether your rules are reinforcing the intended lifecycle or creating duplicates.
Maintain a simple automation register outside the platform. It does not need to be complicated. Record the workflow name, owner, trigger, actions, related tags, and last review date. This is especially helpful for organizations with multiple staff members, agencies, or departments working in the same account.
Treat Automation as an Ongoing Operating Process
Tags and automations need periodic review because business processes change. Offers are retired, teams add new lead sources, and customer onboarding requirements evolve. Review active rules at least quarterly, and review them immediately when you change a funnel, email campaign, product, or service handoff.
Look for unused tags, duplicate labels, broken assumptions, and messages that no longer match the current customer journey. A smaller, maintained system is usually more dependable than a large collection of legacy rules no one feels comfortable changing.
For businesses that do not want internal teams to become specialists in every SaaS platform, implementation support can provide useful continuity. MBH Web Services approaches setup as an operational process: clarify the intended workflow, configure the platform, test the customer path, and maintain it as needs change.
The best Systeme.io setup is one your team can explain in plain language: who entered, what the system learned, what action followed, and who is responsible if an exception occurs. That clarity is what turns automation from a collection of features into dependable day-to-day support for your business.